
A malfunctioning garage door is one of those household frustrations that always seems to happen at the most inconvenient time, usually as you’re rushing out the door for work or returning home in a Chicago downpour. However, before you assume you need a costly replacement, many common issues can be identified and resolved with a bit of systematic troubleshooting. At E.K. Garage Door, we want our neighbors across the Chicagoland area to feel empowered and safe in their homes. This guide provides a structured approach to identifying garage door issues, helping you differentiate between a quick DIY fix and a situation that requires a certified professional.
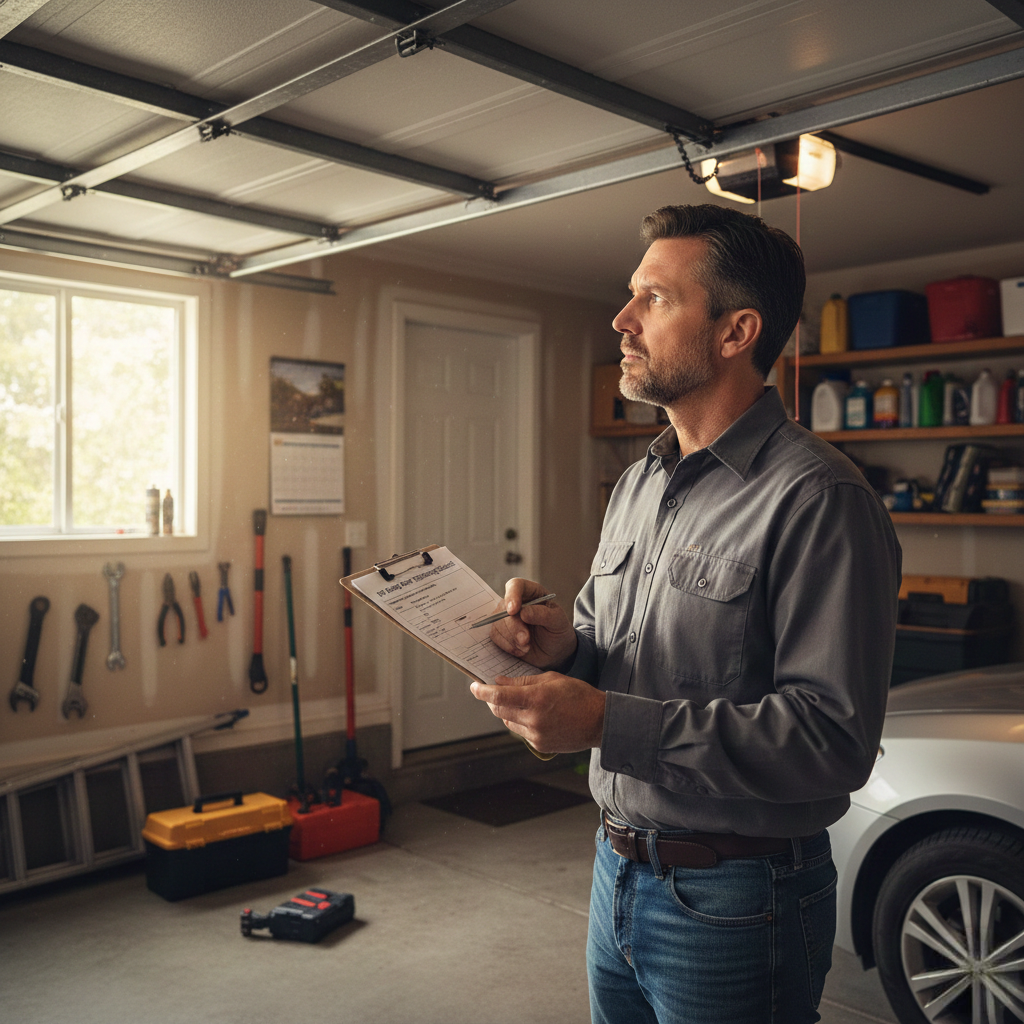
1. Visual and Auditory Inspection: The First Line of Defense
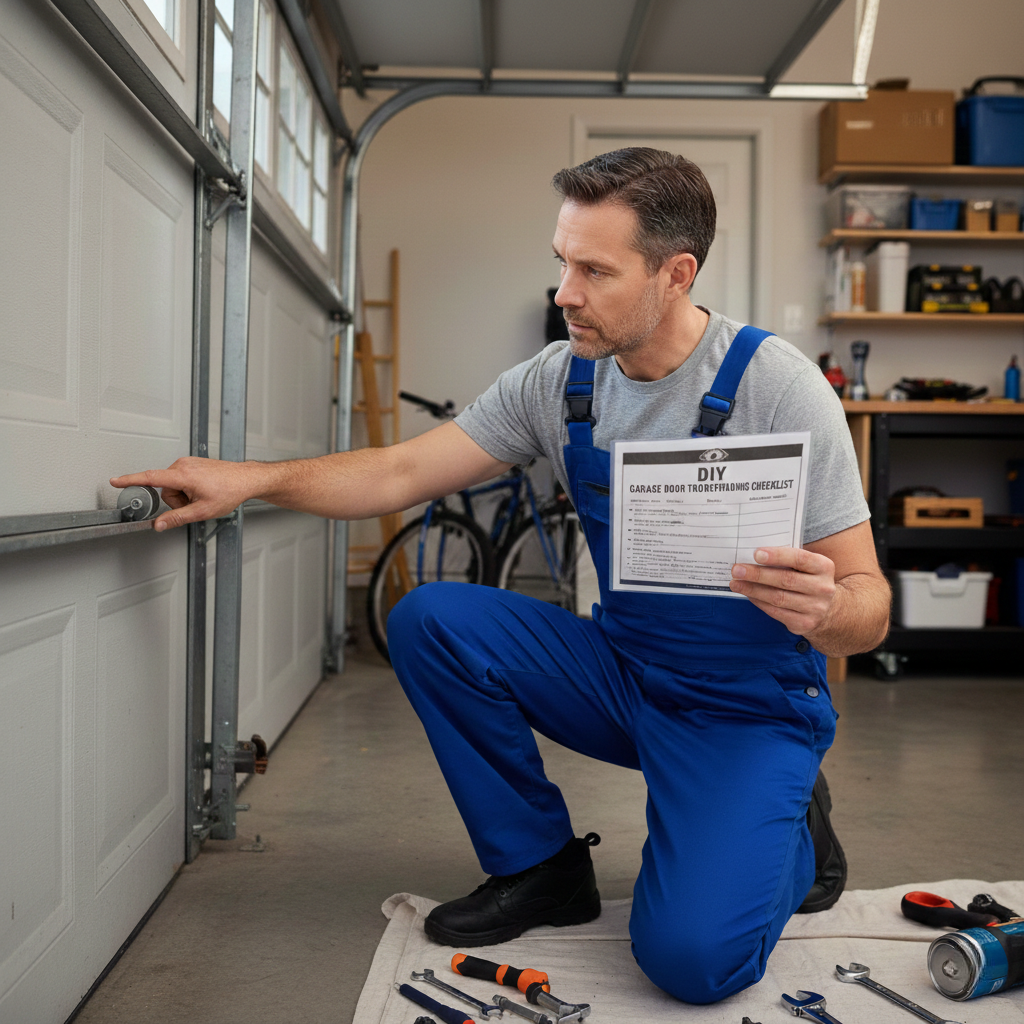
Your garage door often gives you warning signs long before a total mechanical failure occurs. Begin by standing inside your garage with the door closed and operating it. Listen for grinding, squeaking, or sudden thuds. These sounds are often the result of friction or loose hardware.
Inspect the door panels for dents or warping, which can occur frequently during Chicago’s extreme temperature shifts. Even minor structural damage can throw the door out of alignment. Check the tracks for debris like cobwebs, dried grease, or small stones that might have been kicked up by your car. According to the U.S. Consumer Product Safety Commission, thousands of injuries are prevented each year simply by homeowners noticing frayed cables or loose bolts before they snap.
2. Testing the Safety Sensors (Photo-Eyes)
If your garage door starts to close but immediately reverses for no apparent reason, the problem is almost always the safety sensors. These “photo-eyes” are located about six inches off the ground on either side of the door. They emit an invisible infrared beam that, when broken, triggers an auto-reverse for safety.
- Clean the Lenses: Use a soft, dry cloth to wipe away dust or dirt from the sensor lenses. In a busy garage, it’s easy for a thin layer of grime to block the beam.
- Check Alignment: Both sensors should have a steady LED light (usually one green and one amber). If one is blinking, it means the sensors are misaligned. Gently nudge the bracket back into place until the light stays solid.
- Clear Obstructions: Ensure no garden tools, trash cans, or stray leaves are partially blocking the path.
3. Checking the Power Source and Remotes
It sounds elementary, but a significant percentage of service calls are resolved by simply plugging in the opener or changing a battery. If the door isn’t responding to the remote or the wall switch, verify that the opener unit is firmly plugged into the ceiling outlet.
If the wall switch works but the remote doesn’t, replace the remote batteries first. If you’ve recently had a power surge or a long outage, your remote may need to be “re-paired” with the motor unit. For technical guidance on electrical safety and motor standards, the National Institute of Standards and Technology (NIST) provides extensive resources on residential technology resilience.
4. The Balance Test: Is Your Spring Doing Its Job?
The garage door spring is responsible for counterbalancing the door’s weight. If the door feels exceptionally heavy or the motor is straining, the spring may be out of adjustment or reaching the end of its life cycle.
To test the balance, pull the red emergency release cord to operate the door manually. Lift the door about halfway and let go. A perfectly balanced door should stay in place. If it slams shut or “shoots” upward, the spring tension is incorrect. This is a critical safety point: While you can identify an imbalance, you should never attempt to adjust the springs yourself. Research from Iowa State University highlights that torsion springs are under extreme tension and are the most dangerous part of the system for non-professionals to handle.
5. Lubrication and Hardware Maintenance
Metal-on-metal friction is the primary cause of noise and premature wear. Chicago’s humid summers and salty winters can lead to rust and “binding” in the moving parts.
Highlighting the importance of the right products: Avoid using WD-40 or heavy grease. WD-40 is a cleaner, not a long-term lubricant, and heavy grease attracts dirt that can clog the tracks. Instead, use a silicone-based or lithium-based spray on the rollers, hinges, and the full length of the springs. While you are there, use a socket wrench to tighten any loose nuts and bolts on the tracks and hinges that may have vibrated loose over time.
When to Stop Troubleshooting and Call the Pros
While cleaning tracks and replacing batteries is safe, certain components pose a high risk of injury. If you discover frayed cables, a gap in your torsion spring, or a door that has completely jumped its tracks, stop immediately and disconnect the power. These issues involve high-tension energy that can be lethal if mishandled. Additionally, if your door fails the “reversal test”, where it doesn’t bounce back after hitting a 2×4 piece of wood placed in its path, the internal logic board or force settings need professional calibration. For more on the safety regulations governing these mechanisms, consult the International Code Council (ICC).
Get Your Chicago Garage Door Back on Track Today
Don’t let a small mechanical hiccup turn into a major security risk or a safety hazard for your family. If your troubleshooting efforts haven’t resolved the issue, or if you’ve encountered a high-tension problem that requires expert tools, the team at E.K. Garage Door is here to help. We provide fast, reliable, and transparent service across the entire Chicago metropolitan area, from Tinley Park to Naperville and everywhere in between. Our certified technicians will perform a comprehensive safety inspection and get your door operating smoothly and quietly once again. Contact us today at (312) 860-1171 to schedule a professional tune-up and ensure your home remains secure.